

Welcome to the Miller Welder Manual, your comprehensive guide to understanding and operating Miller welding equipment. This manual ensures safe, efficient, and professional welding experiences, covering setup, maintenance, and troubleshooting.
1.1 Overview of the Miller Welder Manual
The Miller Welder Manual is a comprehensive guide designed to help users understand and operate Miller welding equipment effectively. It covers essential topics such as safety precautions, setup, operation, maintenance, and troubleshooting. The manual is tailored for both novice and experienced welders, providing detailed instructions to ensure optimal performance and safety. Miller, a leader in welding technology, emphasizes the importance of proper usage and adherence to guidelines for achieving professional results. This manual serves as a roadmap for mastering Miller welders, from initial setup to advanced techniques, ensuring a seamless welding experience. By following the manual, users can maximize their equipment’s potential while maintaining safety standards.
1.2 Importance of Following the Manual
Adhering to the Miller Welder Manual is crucial for ensuring safety, efficiency, and optimal performance. The manual provides detailed guidelines to help users avoid potential hazards and maintain equipment longevity. By following the instructions, welders can minimize risks associated with improper setup, operation, or maintenance. Proper usage as outlined in the manual also ensures compliance with safety standards and regulations. Additionally, it aids in troubleshooting common issues, reducing downtime and enhancing productivity. Ignoring the manual could lead to equipment damage, void warranties, or result in unsafe working conditions. Therefore, it is essential to thoroughly review and follow the manual to achieve professional results and maintain a safe, efficient welding environment.
1.3 Intended Audience
This manual is designed for individuals who operate, maintain, or supervise the use of Miller welding equipment. It serves as an essential resource for professional welders, maintenance personnel, and workshop managers. Novice welders will also benefit from the clear instructions and safety guidelines provided. The content is tailored to ensure that all users, regardless of their experience level, can safely and effectively utilize Miller welders. By addressing a broad audience, the manual supports both industrial and personal use, making it a versatile guide for anyone involved in welding operations. Whether for routine maintenance or complex welding tasks, this manual is an indispensable tool for achieving optimal results with Miller equipment.

Safety Precautions and Guidelines
This section outlines essential safety precautions for operating Miller welders, ensuring a safe working environment and preventing accidents. Always disconnect power before servicing and use appropriate PPE. Never work alone.
2.1 General Safety Rules
Always follow essential safety rules when operating a Miller welder to minimize risks. Disconnect power before servicing and wear proper PPE, including gloves, safety glasses, and a welding helmet. Ensure good ventilation to avoid inhaling fumes. Keep flammable materials away from the workspace. Never work alone, and ensure a fire extinguisher is nearby. Avoid wearing loose clothing or jewelry that could catch fire or cause accidents. Ground the welder correctly to prevent electrical shocks. Read the manual thoroughly before starting any task. Regularly inspect equipment for damage or wear. Never touch live electrical parts or welding surfaces with bare hands. Adhere to these guidelines to ensure a safe and efficient welding experience.
2.2 Personal Protective Equipment (PPE)
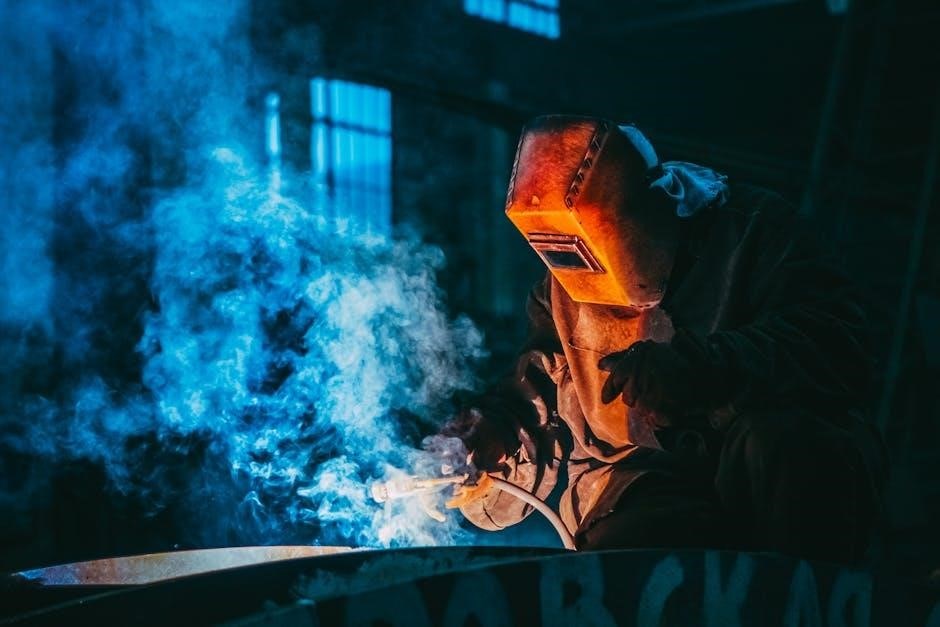
Using proper PPE is crucial when operating a Miller welder to protect against hazards like heat, sparks, and UV radiation. Always wear a welding helmet with a shaded lens to shield your eyes and face. Safety glasses or goggles are essential for additional eye protection. Heat-resistant gloves prevent burns and improve grip. Wear flame-resistant clothing, including long sleeves and pants, to cover exposed skin. Steel-toe boots protect feet from heavy objects. Ensure all PPE meets industry standards for safety. Never weld without proper PPE, as it is vital for preventing injuries. Regularly inspect PPE for wear or damage and replace it as needed to maintain effectiveness.
2.3 Workspace Safety
Maintaining a safe workspace is essential when using a Miller welder. Ensure the area is clean, well-ventilated, and free from flammable materials. Keep the work surface clear of clutter to prevent tripping hazards. Secure loose clothing and long hair to avoid entanglement. Use fire-resistant curtains or screens to contain sparks and protect nearby objects. Ensure proper ventilation to avoid inhaling fumes. Keep a fire extinguisher nearby and have a first aid kit accessible. Avoid welding in confined or poorly ventilated spaces. Regularly inspect the workspace for potential hazards and address them promptly. A safe environment reduces risks and ensures efficient welding operations. Always follow Miller’s safety guidelines for a secure working area.
2.4 Emergency Procedures
In case of an emergency, stay calm and act quickly. For fires, use a fire extinguisher rated for electrical or metal fires. If someone experiences electric shock, disconnect the power source before providing aid. Never touch the person while they are in contact with live electricity. For welding-related injuries, provide first aid immediately and seek medical help if necessary. In case of equipment malfunction, turn off the welder and unplug it. Do not attempt repairs unless properly trained. Keep emergency contact numbers nearby. Regularly practice emergency drills to ensure preparedness. Always have a first aid kit and fire extinguisher within reach. Quick action can prevent accidents from escalating and ensure a safe welding environment.
Understanding the Miller Welder
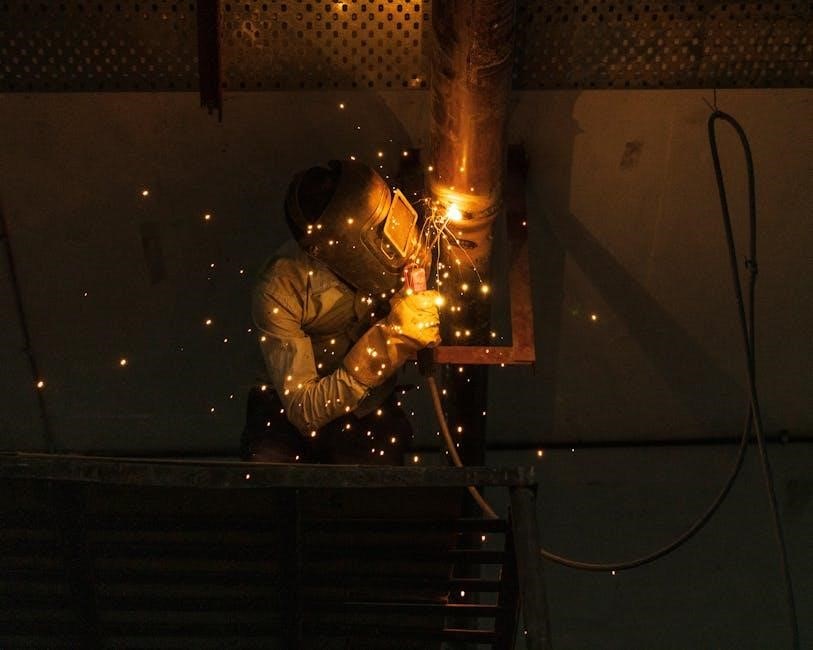
The Miller welder is a versatile, high-performance welding machine designed for professional and industrial use. It supports MIG, TIG, and arc welding processes, ensuring precision and durability. Built with robust materials, it offers advanced controls for consistent results. Easy to operate, it caters to both novices and experts, providing reliable performance across various projects. Its compact design and portability make it ideal for workshops and fieldwork. The welder’s intuitive interface and customizable settings enhance user experience, making it a trusted choice for achieving high-quality welds efficiently and safely.
3.1 Components of the Miller Welder
The Miller welder comprises several key components essential for its operation. The power source is the core, providing the necessary electrical energy for welding. The wire feeder, available in some models, ensures consistent wire feed for MIG welding. A welding gun or torch delivers the wire and shielding gas to the weld area. The control panel allows adjustments to voltage, amperage, and wire feed speed. Additional components include a gas regulator for shielding gas control, a cooling system to prevent overheating, and a cable assembly connecting the torch to the power source. These components work together to deliver precise, high-quality welds across various materials and thicknesses, ensuring efficiency and reliability in industrial and professional settings. Proper maintenance of these parts is crucial for optimal performance and longevity. Understanding each component’s function and care ensures safe and effective welding experiences.
3.2 Types of Miller Welders
Miller offers a variety of welders tailored to different welding processes and applications. The Millermatic series is ideal for MIG welding, providing ease of use and versatility. The Dynasty series excels in TIG welding, delivering high-precision and control. For Stick welding, the Thunderbolt series is a reliable choice, designed for durability and performance. Additionally, Miller provides multi-process welders, such as the Multimatic series, which supports MIG, TIG, and Stick welding in one unit. Each type is engineered to meet specific industrial and professional needs, ensuring high-quality welds and adaptability across diverse projects. These welders cater to various skill levels, from novice to expert, making Miller a trusted name in welding technology. Understanding the right welder for your process is key to achieving optimal results.
3.3 Key Features and Capabilities
Miller offers a variety of welders tailored to different welding processes and applications. The Millermatic series is ideal for MIG welding, providing ease of use and versatility. The Dynasty series excels in TIG welding, delivering high-precision and control. For Stick welding, the Thunderbolt series is a reliable choice, designed for durability and performance. Additionally, Miller provides multi-process welders, such as the Multimatic series, which supports MIG, TIG, and Stick welding in one unit. Each type is engineered to meet specific industrial and professional needs, ensuring high-quality welds and adaptability across diverse projects. These welders cater to various skill levels, from novice to expert, making Miller a trusted name in welding technology. Understanding the right welder for your process is key to achieving optimal results.
Setting Up the Miller Welder
Setting up your Miller welder involves unpacking, inspecting, and connecting the power source. Ensure all components are properly installed and configured for safe and optimal operation.
4.1 Unpacking and Initial Inspection
When unpacking your Miller welder, carefully inspect the unit for any visible damage or defects. Ensure all components, such as power sources, wire feeders, and accessories, are included. Check for loose connections or dents that might affect performance. Refer to the packing list to confirm all items are present. Perform a visual inspection of cables, plugs, and terminals for signs of wear or damage. If any issues are found, contact Miller customer support immediately. Proper inspection ensures safe and reliable operation, preventing potential hazards during use. Always follow the manual’s guidelines for handling and storing equipment to maintain its condition and functionality.
4.2 Connecting the Power Source
Connecting the power source to your Miller welder requires careful attention to ensure safe and proper operation. Begin by verifying the voltage and amperage requirements specified in the manual. For most Miller welders, a 230V or 208V power supply is typically needed. Use a dedicated circuit with the correct gauge wire to avoid overloading. Plug the welder into a properly grounded receptacle to prevent electrical hazards. Ensure the power source is turned off before connecting any cables or components. Follow the manual’s wiring diagram for specific connections, especially for models with additional features like wire feeders or generators. Always double-check connections to avoid loose contacts, which can cause malfunctions or safety risks. Proper power setup ensures reliable performance and longevity of your Miller welder.
4.3 Installing and Setting Up Accessories
Installing and setting up accessories for your Miller welder is crucial for optimal performance. Start by identifying the required accessories, such as MIG guns, TIG torches, or wire feeders, based on your welding needs. Follow the manual’s instructions for connecting each accessory, ensuring proper alignment and secure fastening. For wire feeders, thread the welding wire through the liner and set the tension according to the manufacturer’s guidelines. Adjust the gun or torch to your preferred angle and ensure all connections are tight. Finally, test the accessories by running a small weld to confirm proper function. Always refer to the manual for specific setup instructions for your Miller welder model to ensure compatibility and safety.

Operating the Miller Welder
Operating the Miller welder requires following the manual’s guidance to ensure safety and efficiency. Proper setup, adjustment, and technique are essential for achieving high-quality welding results consistently.
5.1 Starting the Welder
Starting the Miller welder begins with ensuring all safety precautions are in place. First, unpack and inspect the welder for any damage. Connect the power source according to the manual’s instructions, ensuring proper voltage and grounding. Install and set up any required accessories, such as welding torches or wire feeders. Turn on the power and allow the welder to reach operational temperature. Adjust settings like voltage and amperage based on the specific welding process and material thickness. Always refer to the manual for model-specific startup procedures. If unsure, consult the troubleshooting section or contact customer support. Proper startup ensures optimal performance and safety during welding operations.
5.2 Adjusting Settings for Different Welding Processes
Adjusting settings on your Miller welder is crucial for achieving optimal results in various welding processes. For MIG welding, set the voltage and wire feed speed according to the thickness and type of material. TIG welding requires precise control of amperage and arc length. Stick welding involves adjusting the arc voltage and selecting the correct polarity. Always refer to the manual for specific guidelines tailored to your welder model. Ensure shielding gas flow rates and polarity settings match the process and material being used. Proper setup guarantees clean, strong welds. Experiment within recommended ranges to fine-tune your technique. Consistent adjustments enhance weld quality and efficiency, making the process safer and more effective.
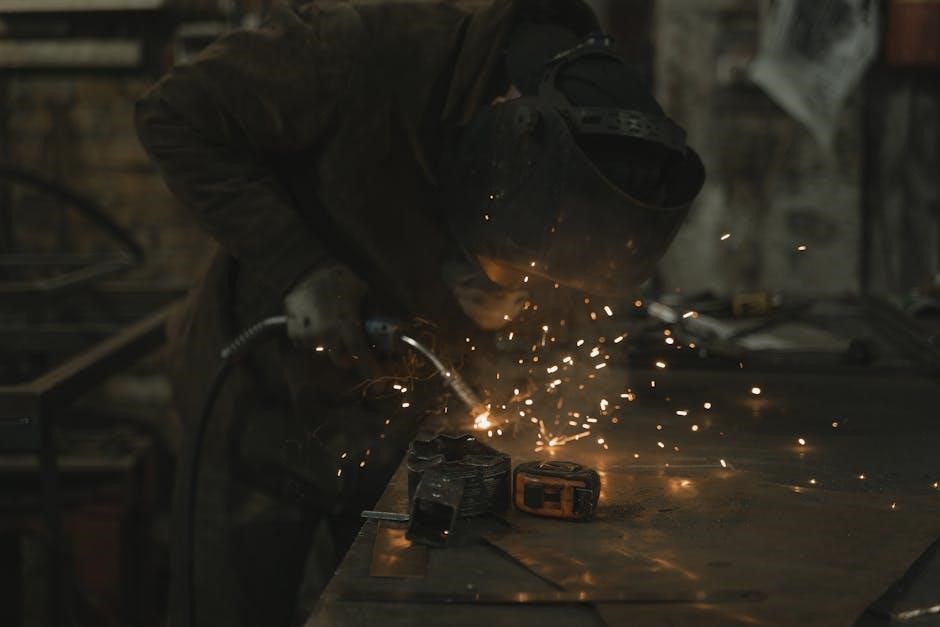
5.3 Basic Welding Techniques
Mastering basic welding techniques is essential for producing strong, consistent welds. Maintain proper electrode angle and travel speed to ensure full penetration and fusion. For MIG welding, keep the gun perpendicular to the workpiece and use a steady, smooth motion. In TIG welding, hold the torch at a 15-20 degree angle, using a push or drag technique. Stick welding requires a 20-30 degree angle, with a slight dragging motion for better control. Always maintain proper joint alignment and clean the area before welding. Practice these techniques to improve accuracy and weld quality. Regularly refer to your Miller welder manual for process-specific guidance. Consistent practice enhances skill and safety, ensuring professional-grade results.
5.4 Advanced Welding Techniques
Advanced welding techniques enhance precision and efficiency, especially for complex projects. Use pulse MIG welding for thin materials to minimize heat distortion. For TIG welding, employ AC/DC switching to achieve superior penetration and cleanliness. Adjust arc length and travel speed to optimize weld quality. Experiment with different shielding gases for specialized applications. Practice advanced joint preparation, such as beveling and grooving, for full penetration welds. Utilize the Miller welder’s adjustable settings to fine-tune parameters like voltage and wire feed speed. These techniques require patience and skill but yield professional-grade results. Always refer to your Miller welder manual for specific process recommendations and safety guidelines to master these advanced methods effectively.
Maintenance and Troubleshooting
Regular maintenance ensures optimal performance and longevity of your Miller welder. Clean the unit, check wire feed, and replace worn parts. Troubleshoot common issues like poor weld quality or machine malfunction by consulting the manual or contacting support for expert solutions.
6.1 Routine Maintenance Tasks
Regular maintenance is crucial for ensuring the longevity and efficiency of your Miller welder. Start by cleaning the exterior and internal components to prevent dust buildup. Check and replace the shielding gas hoses if they show signs of wear or damage. Inspect the wire feed system, ensuring it’s free from debris and properly aligned. Additionally, examine the welding torch and replace consumables like nozzles and contact tips as needed. Lubricate moving parts periodically to maintain smooth operation. Always refer to the manual for specific maintenance schedules tailored to your model; A well-maintained welder guarantees consistent performance and reduces the risk of unexpected downtime, ensuring your projects remain on track. Regular upkeep not only preserves the equipment but also enhances safety and productivity, making it a vital part of your welding routine. By following these routine tasks, you extend the life of your Miller welder and uphold its reliability for years to come. Consistent care ensures optimal functionality, safeguarding your investment and delivering professional results in every welding task.
6.2 Common Issues and Solutions
Troubleshooting is essential for resolving common issues with your Miller welder. One frequent problem is poor weld quality, often caused by incorrect polarity settings or contaminated metal surfaces. Ensure the workpiece is clean and the polarity matches the welding process. Another issue is irregular wire feeding, which can be addressed by checking the drive rolls for wear and ensuring the wire is properly aligned. If the arc is unstable, inspect the welding gun for damage or worn-out consumables. Additionally, insufficient shielding gas flow can lead to porosity; adjust the gas flow rate as recommended in the manual. For persistent problems, consult Miller’s technical support or refer to the troubleshooting section of the manual. Regular maintenance and proper setup can help minimize these issues, ensuring smooth and efficient welding operations. Understanding these solutions helps you address challenges quickly, reducing downtime and improving overall productivity.
6.3 Welder Parts and Replacement
Regular maintenance and timely replacement of worn parts are crucial for optimal performance. Key components like the welding gun, nozzles, and contact tips often require replacement due to wear. Always use genuine Miller parts to ensure compatibility and safety. Refer to the manual for a detailed parts list and diagrams. The shielding gas regulator and wire feeder components should also be inspected periodically. If the drive roll system shows signs of wear, replace it to maintain consistent wire feeding. For complex replacements, such as the power source or engine components, consult Miller’s technical support or an authorized service center. Proper replacement procedures ensure your welder operates efficiently and safely, preventing costly downtime and maintaining weld quality. Always follow the manual’s guidelines for part replacement to guarantee longevity and reliability.
Accessories and Consumables
Essential accessories include welding guns, nozzles, and contact tips. Consumables like shielding gas regulators and wire feeders ensure optimal performance. Always use genuine Miller parts for compatibility and safety.
7.1 Essential Accessories for Miller Welders
Essential accessories for Miller welders enhance performance and durability; These include welding guns, nozzles, contact tips, and shielding gas regulators. Additional items like wire feeders, drive rolls, and spool guns are crucial for specific welding processes. Accessories ensure proper wire feeding, reduce wear, and maintain consistent weld quality. For MIG and TIG welders, consumables like tungsten electrodes and collets are indispensable. Always use genuine Miller parts to guarantee compatibility and safety. Accessories are designed to optimize your welding experience, ensuring efficiency and precision. Proper selection and maintenance of these items are vital for achieving professional results. Explore Miller’s range of accessories to customize your welder for various applications and materials.
7.2 Consumables and Their Usage
Consumables are essential for maintaining optimal performance in Miller welders. These include items like welding wires, contact tips, nozzles, and shielding gas. The type of consumable depends on the welding process, such as MIG, TIG, or stick welding. For instance, MIG welders require high-quality welding wire to ensure smooth feeding and consistent welds, while TIG welders need tungsten electrodes that are durable and resistant to wear. Regularly replacing consumables prevents issues like porosity or irregular bead formation. Proper usage and maintenance of these items extend the life of your welder and improve overall welding quality. Always refer to the manual for specific consumable recommendations tailored to your Miller welder model and application.
Warranty and Support
Miller offers comprehensive warranty coverage and dedicated customer support for their welding equipment. Visit their official website for detailed warranty information and assistance options.
8.1 Understanding the Warranty
Mulder’s warranty provides coverage for defects in materials and workmanship, ensuring your welder operates as intended. The warranty period varies by product, typically covering parts and labor for a specified duration. Registration and proper maintenance are often required to maintain warranty validity. For detailed terms, review the warranty section in your manual or visit Miller’s official website. Keep records of purchase and maintenance for warranty claims. Understanding your warranty ensures protection and peace of mind, allowing you to focus on your welding projects with confidence.
8.2 Contacting Customer Support
For assistance with your Miller welder, contact customer support through various channels. Visit Miller’s official website for contact information, including phone numbers, email, and live chat options. Provide your welder’s serial number for efficient support. Online resources like troubleshooting guides and FAQs are also available. For detailed inquiries, refer to your product’s manual or download PDF versions from Miller’s website. Technical support specialists are trained to address operational, maintenance, and repair questions. Ensure to have your serial number ready for specific support requests. Miller’s customer support team is dedicated to helping you maximize your welding equipment’s performance and resolve any issues promptly.
The Miller Welder Manual provides essential guidance for mastering your welding equipment. By following its instructions, you ensure safe operation, achieve professional results, and maintain your welder effectively.
9.1 Final Thoughts
9.2 Encouragement for Safe and Effective Welding
As you embark on your welding journey with the Miller Welder Manual, remember that safety and precision are key to achieving exceptional results. Always wear proper PPE, follow guidelines, and maintain a clean workspace to ensure optimal performance. Miller’s resources, including customer support and updated manuals, are designed to empower you with knowledge and confidence. Take pride in your craft, and continuously refine your skills to deliver high-quality welds. Whether you’re a novice or an expert, adhering to the manual’s advice will help you unlock your full potential. Stay motivated, weld responsibly, and enjoy the satisfaction of creating durable, professional-grade work with your Miller welder.